Creating Cinematic Videos with Free Editing Tools
29 March 2026
Have you ever watched a movie or a YouTube video and thought, "Wow, this looks incredible"? The smooth transitions, the dramatic lighting, and the crisp editing all seem like they were made by a professional with access to high-end gear and expensive software. But what if I told you that you could create cinematic videos using free editing tools? Yes, you heard that right—free! It may sound too good to be true, but with a little creativity and know-how, you can turn your raw footage into breathtaking videos without spending a dime.
In this guide, I’ll walk you through the basics of creating cinematic videos while using free editing tools. You don’t need to be a seasoned filmmaker to get started. I’ll break it down in simple terms, showing you the steps and techniques you can use with popular free software options. Ready to get started? Let’s dive in!
What Makes a Video "Cinematic"?
Before we get into the nuts and bolts of free editing tools, let’s first understand what makes a video “cinematic.” It’s not just about having a fancy camera or knowing how to use all the editing software on the planet. Cinematic videos are all about storytelling and capturing the audience’s attention.Here are a few key elements of a cinematic video:
- Lighting: Good lighting can make or break your video. Natural light, soft light, and shadows create depth and mood.
- Composition: This is how you frame your shots. The Rule of Thirds, leading lines, and symmetry are some techniques that can make your video visually appealing.
- Color Grading: This goes beyond simple color correction. Color grading adds a specific mood or tone to your film—whether that’s a warm, sunset glow or a cool, dystopian blue.
- Smooth Transitions: Instead of rough cuts between scenes, cinematic videos often feature seamless transitions that keep the viewer engaged.
- Music and Sound: The right soundtrack or sound effects can elevate your video from good to jaw-dropping. It sets the emotional tone.
So, how do you achieve all of this without breaking the bank? With free editing tools! Let’s look at some of the best free tools available and how to use them.
Best Free Editing Tools for Cinematic Videos
1. DaVinci Resolve
If you're serious about making cinematic videos, you’ll want to start with DaVinci Resolve. It’s a free software that offers professional-grade tools, especially for color grading. While the learning curve can be a bit steep, it’s well worth it.Here’s what makes DaVinci Resolve stand out:
- Advanced Color Grading: This is where DaVinci Resolve truly shines. You can give your footage that cinematic look by adjusting the hues, saturation, and contrast.
- Multi-Camera Editing: Working with different camera angles? No problem. DaVinci Resolve allows you to sync and edit footage from multiple cameras seamlessly.
- Fairlight Audio: High-quality audio is essential for cinematic videos, and the built-in Fairlight Audio tool lets you fine-tune your sound like a pro.
Pro Tip: Start by watching a few tutorials on YouTube to get the hang of DaVinci Resolve. Once you know the basics, you’ll be amazed at what you can create!
2. HitFilm Express
Next up is HitFilm Express, another fantastic free video editor. What sets HitFilm Express apart is its wide array of VFX (visual effects) tools. If you dream of adding explosions, muzzle flashes, or even lightsabers to your footage, this is the tool for you!Here are some standout features:
- VFX Tools: HitFilm Express gives you access to over 400 effects, including green-screen keying, 3D compositing, and particle effects.
- Intuitive Interface: The user interface is clean and straightforward, which makes it easier to get started compared to DaVinci Resolve.
- Pre-Set Templates: You can use pre-set templates for effects like lower thirds and title animations to speed up your workflow.
Pro Tip: If you're a beginner, HitFilm Express has a strong community and tons of tutorials online. You’ll find plenty of resources to help you master the software.
3. Shotcut
If you're looking for something simpler but still powerful, Shotcut is a great option. Shotcut is an open-source video editor with a minimalist interface, but don’t let that fool you—it’s packed with features.Why you’ll love Shotcut:
- Cross-Platform: Whether you’re on Windows, macOS, or Linux, Shotcut works smoothly across all operating systems.
- Wide Format Support: Shotcut supports a wide range of video formats, so you won’t need to worry about converting files before importing.
- Multiple Audio and Video Filters: You can add effects like color correction, stabilization, and sharpening to give your video that polished look.
Pro Tip: Shotcut is perfect for beginners who want to dip their toes into video editing without feeling overwhelmed. It’s also less resource-intensive, so it runs well on older machines.
4. Lightworks
Another excellent free tool is Lightworks. If you’ve heard of movies like The Wolf of Wall Street or Pulp Fiction, you’ll be excited to know that Lightworks was used to edit both. That’s right—this free tool has been used in Hollywood!Why choose Lightworks?
- Professional Timeline Editing: Lightworks offers professional-grade trimming and editing, allowing you to craft precise, smooth transitions.
- Real-Time Effects: You can apply effects and see them in real-time, which speeds up your workflow.
- Multi-Camera Editing: Like DaVinci Resolve, Lightworks supports multi-camera editing, making it easy to switch between angles.
Pro Tip: Lightworks can be a bit tricky to get the hang of initially, but once you do, it’s a powerhouse. There is also a paid version if you ever decide you want more advanced features.
Steps to Create Cinematic Videos with Free Tools
1. Plan Your Shots
Before you even open your editing software, you need to plan your shots. Cinematic videos don’t happen by accident. Think about the story you’re trying to tell and how you want to visually convey that story.- Use the Rule of Thirds: Imagine breaking your shot into nine equal squares. Place your subject along those lines to create a balanced composition.
- Lighting: Natural light is your best friend. If you’re filming indoors, try to position your subject near a window where soft light can enhance the scene.
- Movement: Use a tripod or stabilizer to avoid shaky footage. Smooth camera movements like pans and tilts can make your video look more professional.
2. Import Your Footage
Once you’ve shot your footage, import it into your editing software. Most free editing tools, like DaVinci Resolve or Shotcut, allow you to drag and drop files directly into the timeline.- Organize Your Clips: Create folders for different types of footage (e.g., B-roll, interviews, etc.). This will make the editing process far smoother.
- Sync Audio: If you recorded audio externally, make sure to sync it up with your video footage.
3. Edit for Flow
The key to cinematic video editing is flow. You want your video to feel seamless and engaging.- Cut on Action: This means cutting from one shot to another as the action is happening. For example, if someone is opening a door, cut to a close-up of their hand turning the doorknob at the moment of contact.
- Use J-Cuts and L-Cuts: These are editing techniques where the audio and video don’t change at the same time. J-cuts and L-cuts can add a more professional feel to your edits.
- Keep It Simple: Don’t overdo it with transitions and effects. Subtle is better. Stick with simple cuts and fades to keep your audience focused on the story.
4. Color Grading
Color grading is one of the most important steps in creating a cinematic look. This is where DaVinci Resolve really shines. You can adjust the colors, contrast, and brightness of your footage to create a specific mood.- Warm Tones: Want that golden-hour look? Increase the warmth and saturation of your footage.
- Cool Tones: For a more dramatic, dystopian feel, decrease the warmth and add a blue tint.
- Adjust Contrast: Increasing contrast can make your footage pop, while lowering it can create a softer, dream-like quality.
5. Add Music and Sound Effects
The right music can make all the difference in how your audience feels. Most free editing tools come with built-in audio libraries, or you can find royalty-free music online.- Match the Music to the Mood: If your video is slow and emotional, choose softer music. For action-packed scenes, go for something upbeat and intense.
- Don’t Forget Sound Effects: Adding subtle sound effects (like footsteps, wind, or ambient noise) can bring your video to life.
6. Export and Share
Once you’ve finished editing, it’s time to export your masterpiece. Make sure to export in a high-quality format to preserve the cinematic feel. Most free editing tools allow you to export in 1080p or even 4K.- File Format: Export in MP4 or MOV for the best balance between quality and file size.
- Resolution: Aim for 1080p or 4K if you want your video to look sharp on larger screens.
Now, all that’s left is to share your work with the world!
Final Thoughts
Creating cinematic videos doesn’t have to be complicated or expensive. With the right free tools and a bit of practice, you can produce stunning, professional-looking videos that captivate your audience. Remember, the most important thing is to tell a story. Focus on your shots, your lighting, your editing, and your sound—and the rest will follow.Happy editing, and may your cinematic journey be as epic as the videos you create!
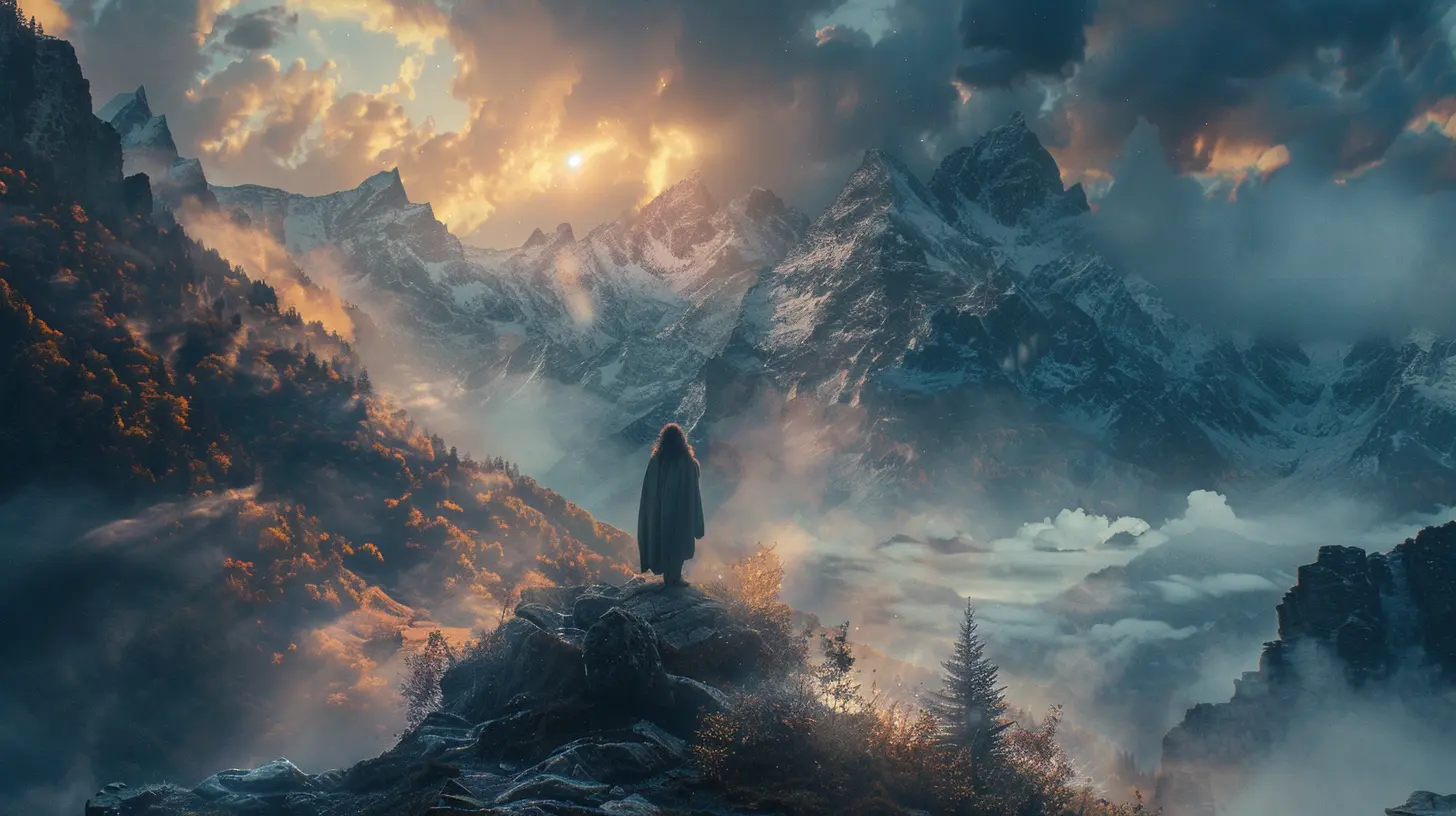
all images in this post were generated using AI tools
Category:
Video Editing ToolsAuthor:

Reese McQuillan
Discussion
rate this article
2 comments
Zeth Burton
This article beautifully captures the essence of storytelling through video. It's inspiring to know that with free editing tools, anyone can unleash their creativity and produce cinematic magic. Thank you for sharing such valuable insights!
March 31, 2026 at 2:53 AM
Reese McQuillan
Thank you for your kind words! I'm thrilled to hear that you found the article inspiring. Happy creating!
Karina Hernandez
Great tips! Free tools can deliver impressive results with creativity.
March 30, 2026 at 5:01 AM
Reese McQuillan
Thanks! It's amazing what you can achieve with free tools and a little creativity. Glad you found the tips helpful!